Lemon Coconut Truffles
Calling all lemon pie lovers!
I’ve always loved that mouth-puckering, tangy layer of a good lemon meringue pie. That’s exactly what I wanted in these lemon coconut truffles: bright, zesty lemon flavour, softened with a creamy sweetness and rolled in a blanket of shredded coconut. They’re like little bites of sunshine, no fork required. These lemon coconut balls come together quickly, making them perfect for last-minute guests, afternoon tea, or when you just need a citrusy pick-me-up. One bite, and you’ll see why I can’t stop making them.
Ingredients explained:
Sweetened condensed milk - These truffles are cooked on the stove similar to a Brazilian brigadiero. The bulk of this truffle is made up of cooked sweetened condensed milk.
White chocolate chips - The chocolate chips help to give the truffles some stability and keep their shape. White baking chocolate would also work for this recipe.
Heavy cream - Heavy cream helps bind the ingredients as they cook. Whole milk or a milk alternative can be used, but may change the flavour.
Butter - This gives the truffle a nice short bite and a smoothness to the truffle.
Salt & vanilla - Flavour!
Lemon zest - The lemon zest is where all of the lemony goodness is found.
Citric acid - Citric acid is dried citrus, so it helps to give this truffle an extra pucker and zing without adding extra moisture. You can find citric acid in baking supply stores or, since it is used in preserving, you can find it where canning supplies are sold.
Yellow food colouring - This is optional, it just looks a little more lemon-y. I used gel, but you can also use liquid if that is what you have.
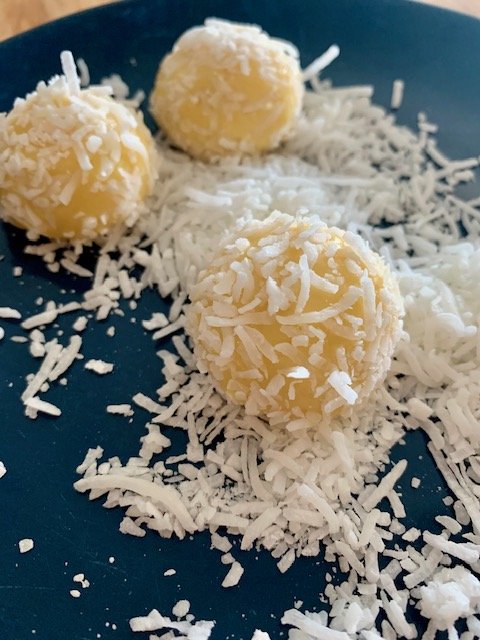
Coconut - I used a medium shred, sweetened coconut. Use whatever you like or have on hand to roll the truffles in.
The recipe
Lemon Coconut Truffles
Ingredients
1 can sweetened condensed milk
1/3 cup white chocolate chips
2 Tbsp heavy cream
1 Tbsp butter
1/2 tsp salt
1/2 tsp vanilla
Zest of 1 lemon
1/2 tsp citric acid
optional: 1-2 drops yellow food colouring
1 cup shredded or flaked coconut
Directions
In a medium heavy bottomed saucepan, stir sweetened condensed milk, white chocolate, cream, butter, vanilla and salt over low/medium heat until simmering. (First two pictures below)
Keep stirring for 5-10 minutes, the mixture will bubble and burp, and start to come together. Keep stirring to prevent the bottom from sticking and burning. You’ll know it’s done when you can drag your spatula through and it stays like that. Also, when you tip the pan, the entire mixture will fall together as one. (Bottom left picture)
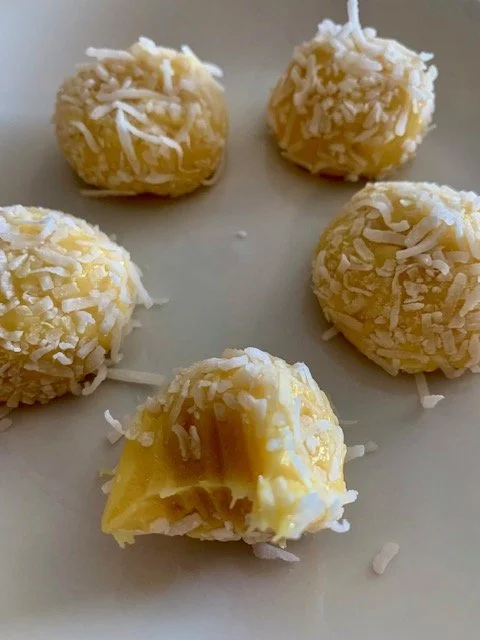
Take off the heat and stir in the lemon zest and citric acid. Taste and add any extra citric acid or zest as desired. If you’d like to add a drop of yellow food colouring, add it now and stir to incorporate. The last two pictures show without and with yellow colouring.
Pour out onto a silicone mat and let cool for a few minutes. Keep an eye on it, It has to be cool enough that you can handle and form into balls, but warm enough that the coconut sticks.
Roll in teaspoon sized balls, then roll in coconut.


Troubleshooting: If your mixture has cooled and the mixture is not hard enough to form into balls, it needs to cook a little longer. You can put it back on the stove for a few minutes once it starts to boil (remember to stir constantly), or you can use the microwave. Put the mixture into a microwave-safe bowl and microwave for 45 seconds then stir, and microwave again for another 45 seconds. Cool the mixture and you should be able to form balls at that point.
Store in a covered container in the fridge, keeps in the fridge for several weeks. Freezes well for several months.
Makes approximately 15 truffles.
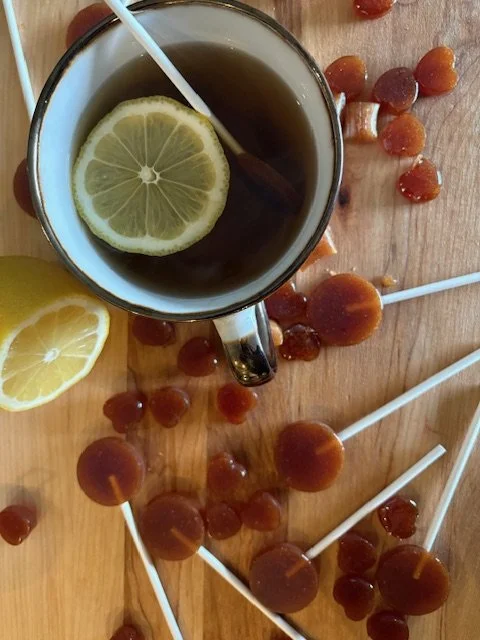


Hey, I’m Kim!
After a lot of practice (and a few sticky disasters), I’ve crafted a delicious selection of lollies and mastered a ton of candy making tips to share with you—lump free. (You’re welcome.)