
2 ingredients. Really.
If you love decorating cakes and creating edible characters, you may have come across modelling chocolate, a sweet, pliable chocolate dough that can be shaped, sculpted, and moulded into all kinds of decorations. I’ve recently had the chance to put modelling chocolate to the test in a rather big way: I made and wrote a book where every character was created out of modelling chocolate and every prop and background scene was made out of candy. Really.
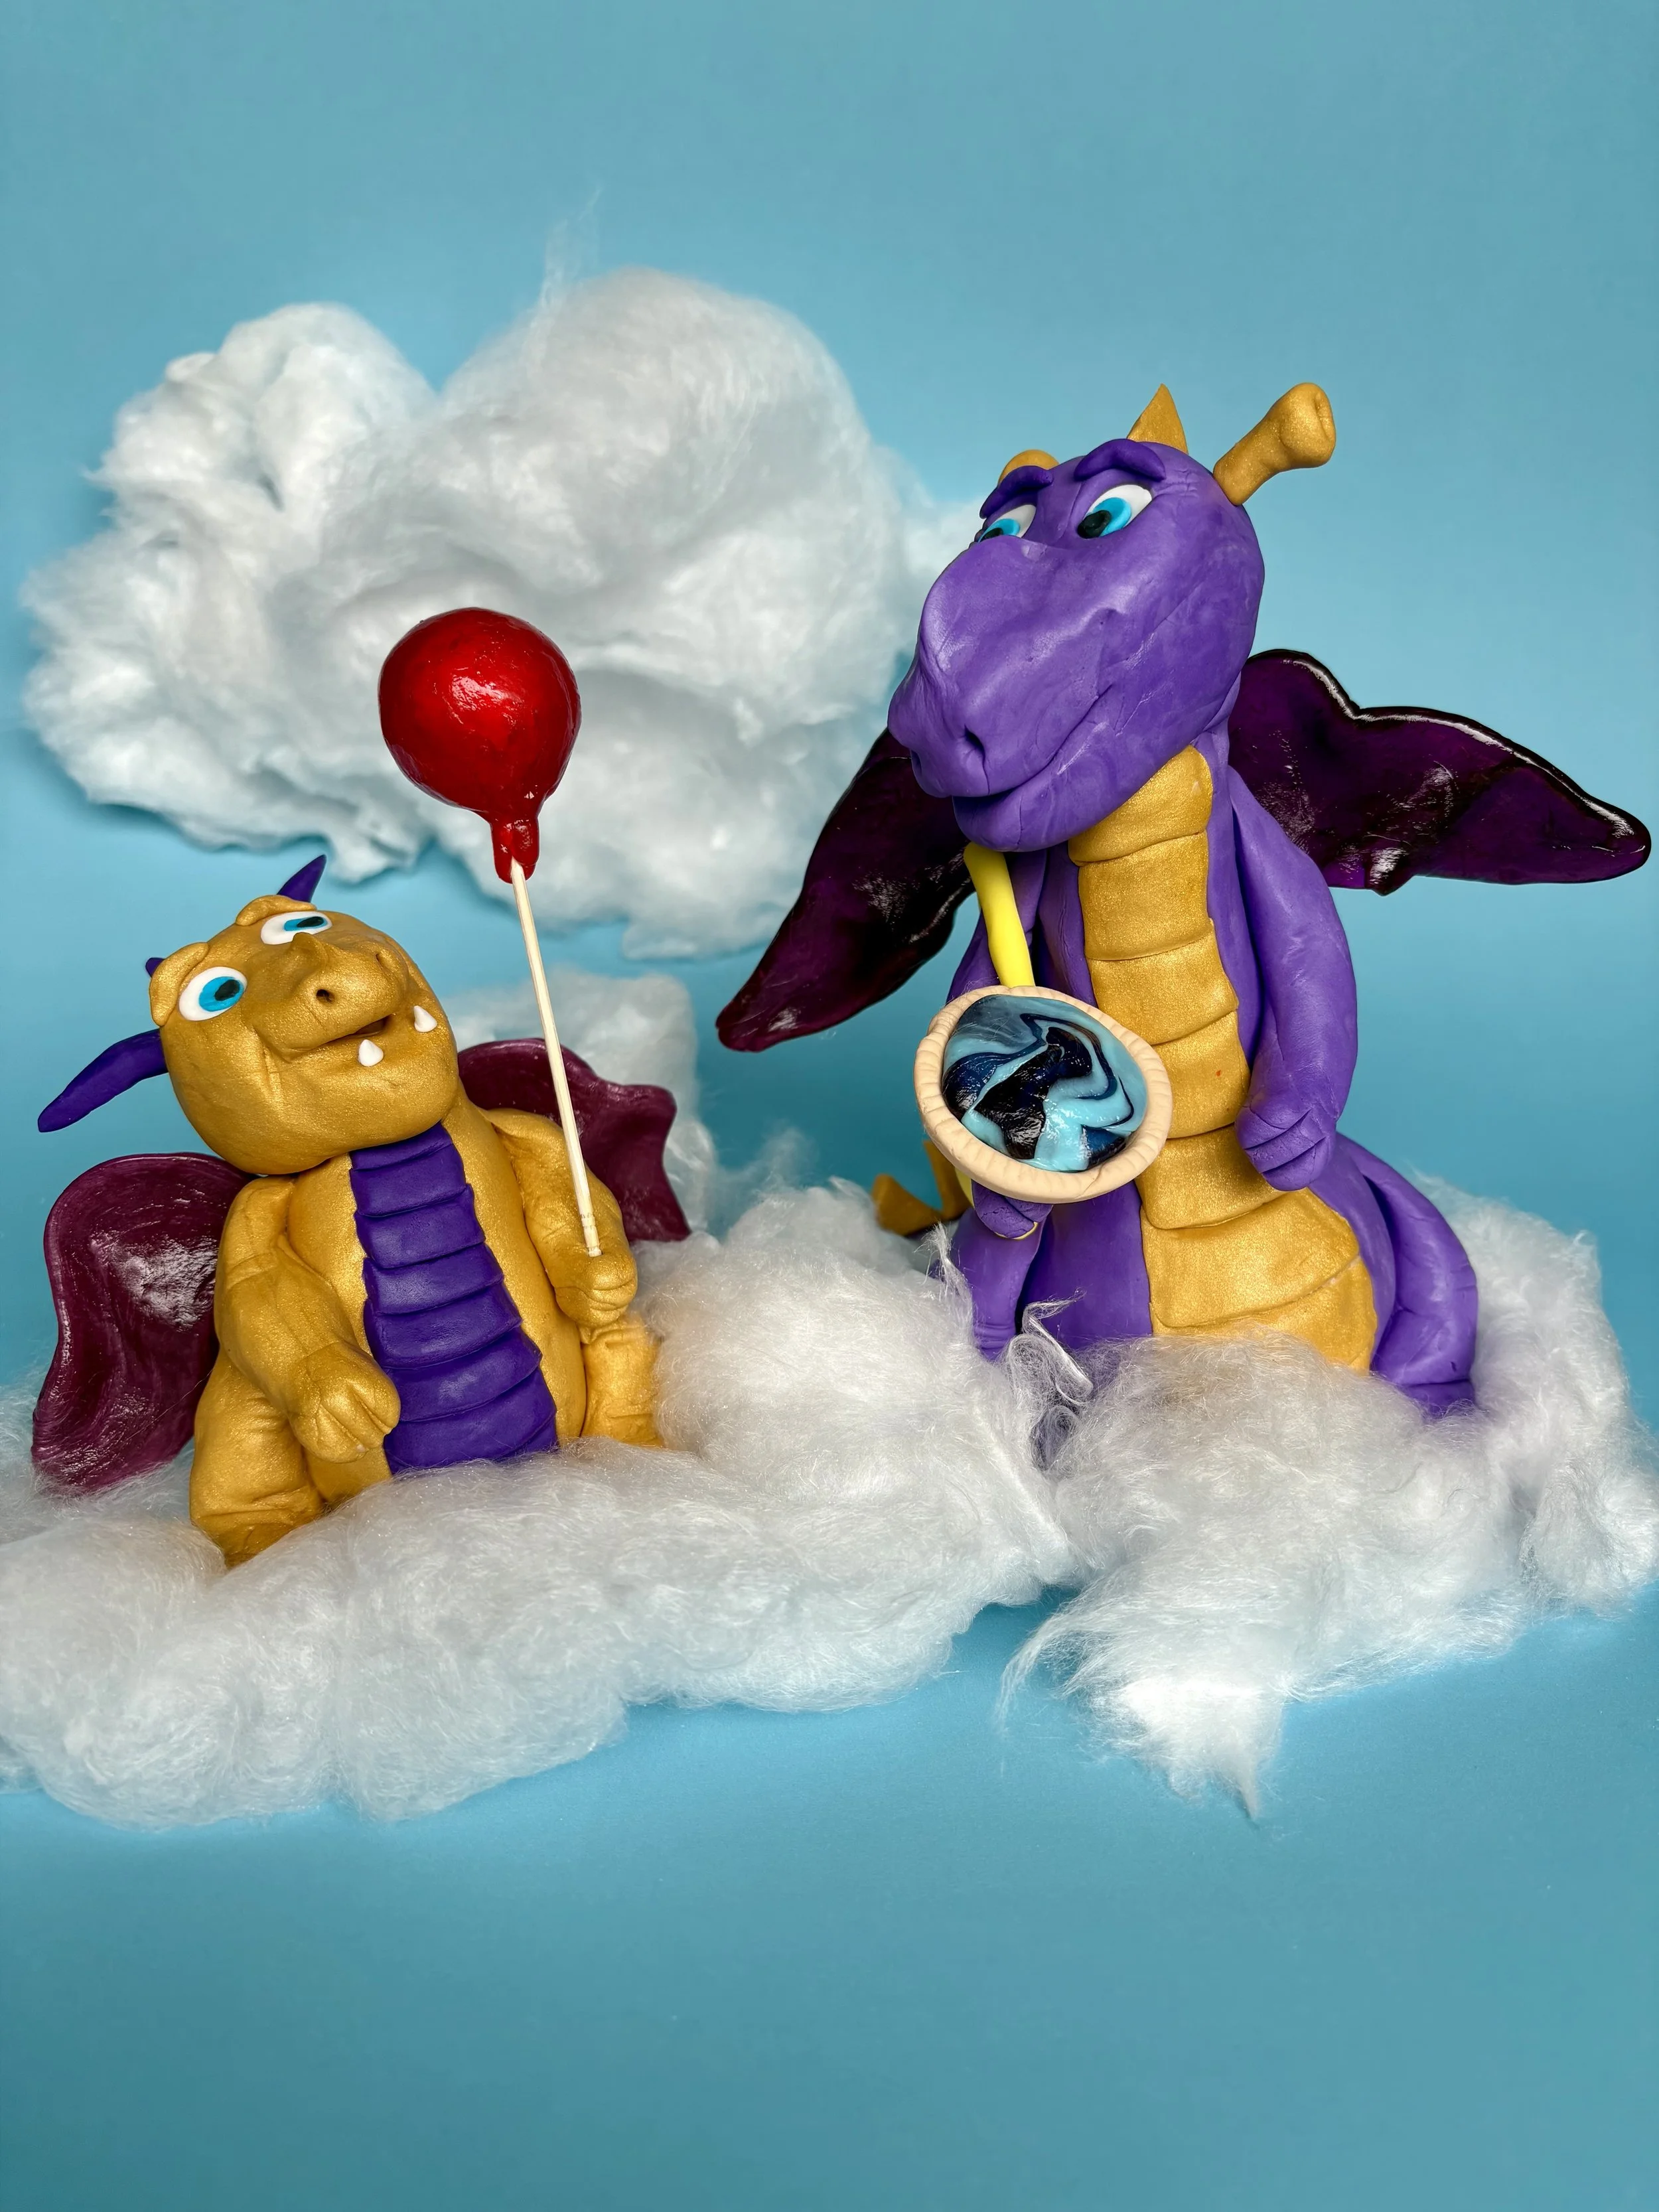
I chose modelling chocolate for the characters because it made it much easier to add all the little details that brought them to life. From tiny facial features to accessories, and other intricate details, modelling chocolate gave me the control I needed to sculpt each character exactly as I imagined them. And there’s something particularly satisfying about creating something so detailed from something that is, essentially, chocolate!
Modelling Chocolate vs Fondant
So, when would you use modelling chocolate instead of fondant? While the two can sometimes be used for similar decorating jobs, they behave quite differently. Fondant is soft, stretchy, and wonderful for covering cakes with a smooth finish, while modelling chocolate is firmer and easier to sculpt and shape. It holds detail beautifully, making it especially useful for figures, flowers, bows, animals, and other decorations where you want a little more precision.
Along with so many other things these days, I found buying modelling chocolate was started to get expensive. So, I started to make it myself, and found it pretty easy with a few simple ingredients.
Ingredients explained
Chocolate wafers - no substitutions! You need the stabilizers and what ever other waxy ingredients there are in these chocolate melting wafers to give the proper stability to modelling chocolate.
Light corn syrup - this helps the chocolate become pliable.
The recipe
Modelling Chocolate
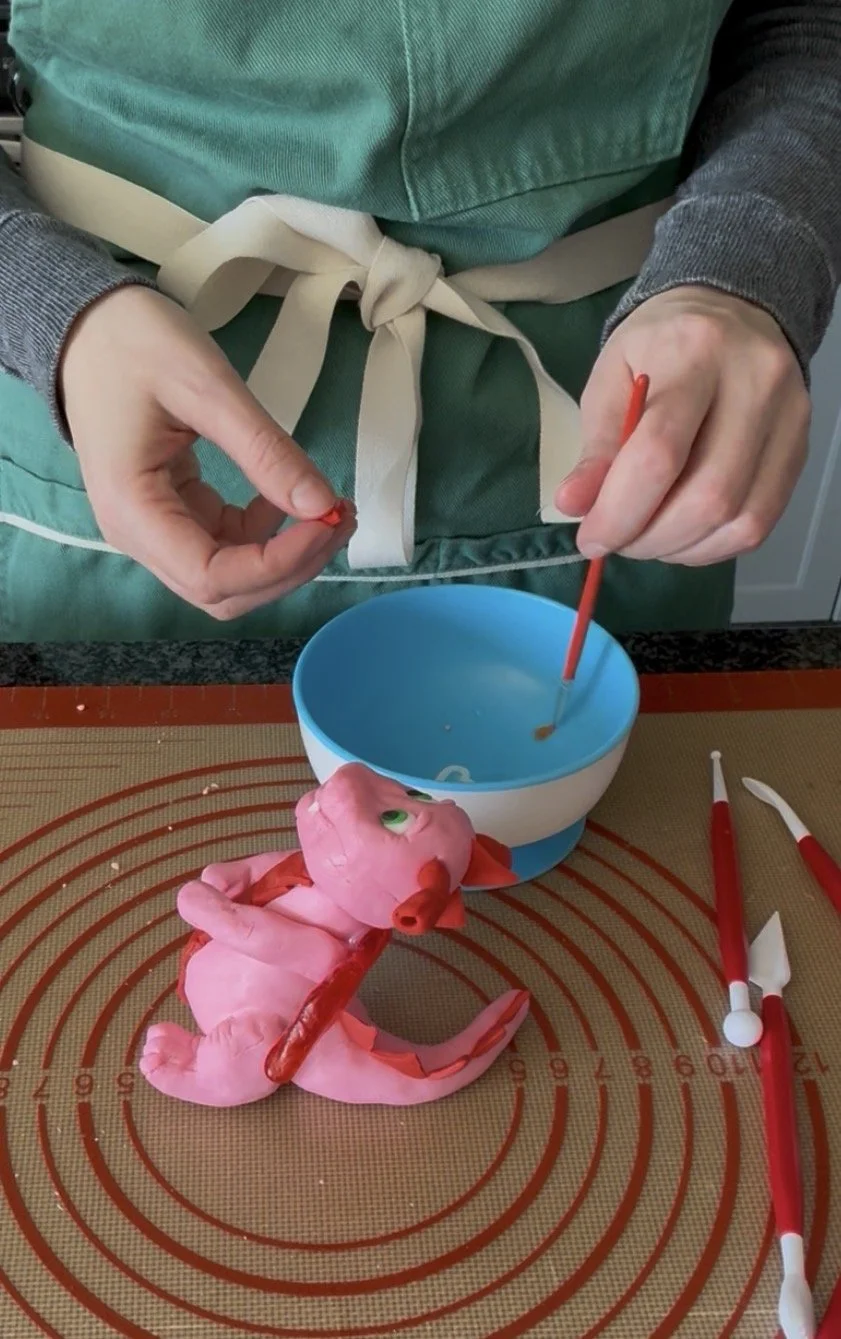
Ingredients
1 340 g (12 ounce) bag chocolate melting wafers
1/4 cup light corn syrup
Directions
Prep: Place a piece of saran wrap on the counter near where you are preparing the chocolate.
In a microwave safe bowl, melt the chocolate wafers in 30 second increments, stirring in between.
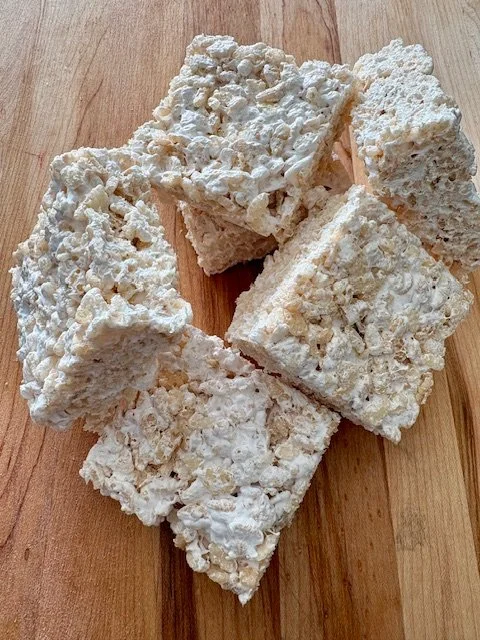
Add the corn syrup to the melted chocolate and gently fold in the corn syrup. You do not want to over mix. Fold about three or four times just until the corn syrup is incorporated and you may start to notice the chocolate going grainy. Stop at that point and pour onto the saran wrap. Wrap the saran wrap over the chocolate and make a uniform sized flat square. Leave the chocolate and corn syrup to set for about an hour.
Once the chocolate has hardened, you can start to use it however you like! Break a piece off and start working it with your hands. It will start to soften the more you work with it, to the point where you may have to stop working with it to harden back again.
Tip: You may notice as you start to work with the modelling chocolate that there are little hardened pieces that won’t mix in. Try squeezing them with your fingers, your fingers will melt the chocolate. If that doesn’t work, then put the modelling chocolate in the microwave for about 7 seconds, then squeeze those hardened pieces again with your fingers, and they should blend in. This is a result of either under mixing or over mixing, but is easily remedied.
Store in a cool, dry place. Keeps indefinitely.
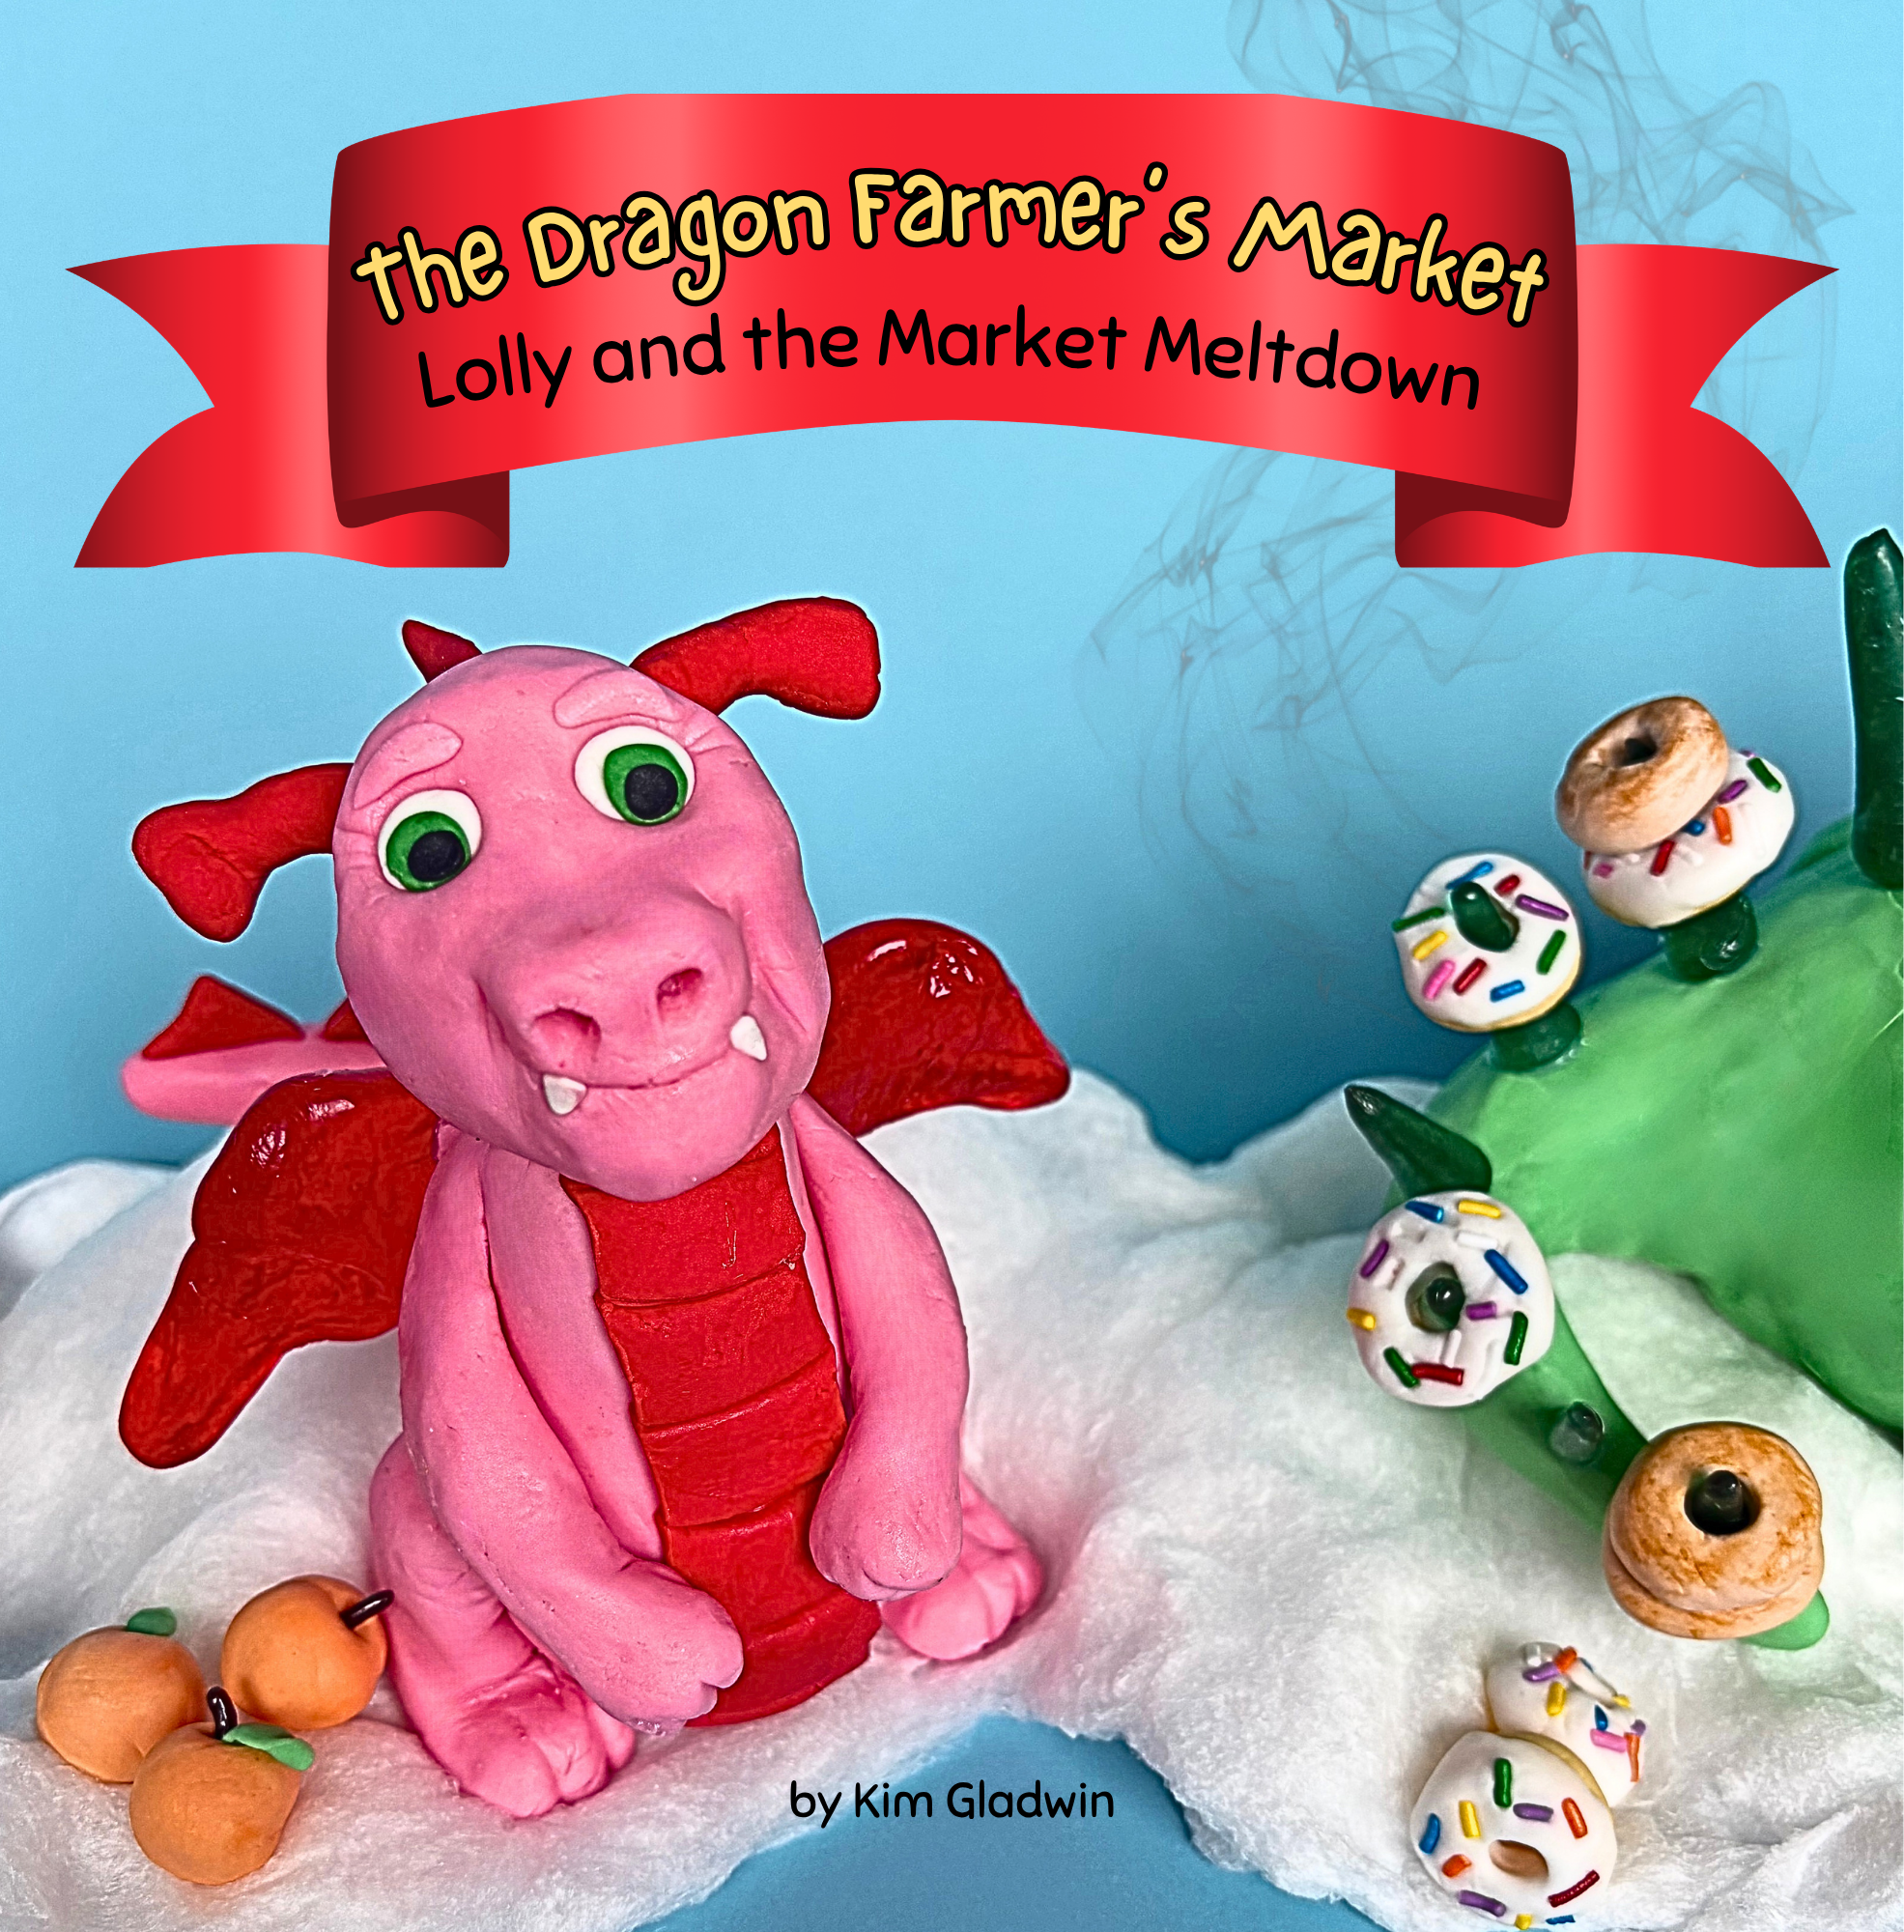
The Dragon Farmer’s Market: Lolly and the Market Meltdown
I wrote this book for all the little dragons out there that get so excited about going to the market, that sometimes it becomes a little too much. Everything shown in the book is made of candy and made by me.
Check out my book on Amazon!
As an Amazon Associate I earn from qualifying purchases.

Hey, I’m Kim!
After a lot of practice (and a few sticky disasters), I’ve crafted a delicious selection of lollies and mastered a ton of candy making tips to share with you—lump free. (You’re welcome.)

If you love decorating cakes and creating edible characters, you may have come across modelling chocolate, a sweet, pliable chocolate dough that can be shaped, sculpted, and moulded into all kinds of decorations. I’ve recently had the chance to put modelling chocolate to the test in a rather big way: I made and wrote a book where every character was created out of modelling chocolate and every prop and background scene was made out of candy. Really.