Marshmallows 101: Tips & Troubleshooting
Is there anything more amazing than turning sugar, water, and gelatin into a big, bouncy cloud of sweetness? Making marshmallows at home feels like pulling off a kitchen magic trick. But if you've ever ended up with a sticky mess or something that could double as packing foam… you’re not alone.
I’ll break down for you the marshmallow-making process, common issues, and how to know when you've nailed it, (without the stress).
What’s Actually Happening When You Make Marshmallows?
At its core, marshmallow making is about turning sugar syrup and gelatin into a stable foam. You heat sugar, corn syrup, and water to temperature (around 240°F / soft ball stage) and then whip it together with bloomed gelatin. The whipping incorporates air, the gelatin traps that air, and the sugar syrup sets everything in place.
Simple, right? Well... kinda. Let’s talk about where things can go sideways.
Common Marshmallow Mishaps (And How to Fix Them)
1. Under-Whipping: The Gooey Blob
What happens: You stop whipping too soon, and the mixture is still too runny. It pours into your pan like thick syrup and never really sets up right. You’ll cut into it hours later and find something that's more like sticky taffy than fluffy marshmallows.
Why: The marshmallow hasn’t incorporated enough air, and the gelatin hasn’t cooled enough to start setting.
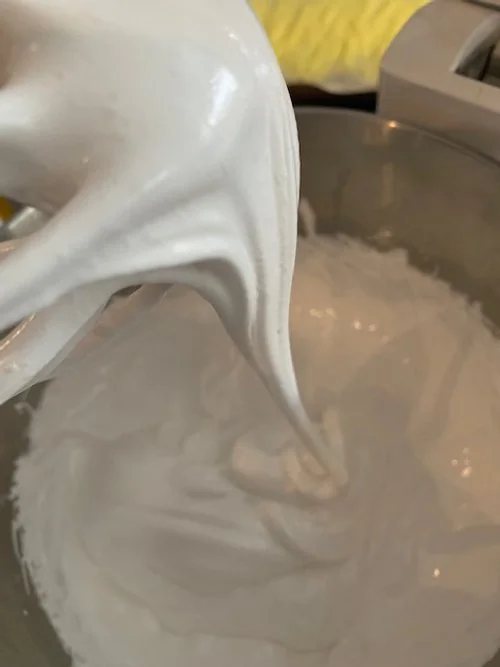
How to fix: Whip longer! You’re looking for the mixture to triple in volume, turn opaque white, and hold soft but distinct peaks. It should be thick enough that when you lift the whisk, ribbons of marshmallow slowly cascade back down, not immediately sink and disappear. If you are feeling lucky and it hasn’t been too long and you realize it’s an under-whipping problem, go ahead and throw the marshmallow back in the mixer and see if you can revive it.
2. Over-Whipping: Dry and Crumbly
What happens: You walk away from the mixer, and next thing you know, your marshmallow batter is thick like spackle. It’s too stiff to spread evenly in the pan, and once it sets, it’s dry and almost chalky instead of soft and pillowy.
Why: Over-whipping means you've beaten out too much moisture. As it cools, it sets up too fast, leaving little room to spread and smooth it.
How to fix: Stop whipping once the marshmallow is thick but still pourable. If you have to wrestle it out of the bowl, you've gone a little too far. Get it into a pan as best as you can and let it set. It will still be edible, but you’ll probably want to start over.
A note on whipping: Ideally, you’ll want to use a stand mixer in order to incorporate the right amount of air into your marshmallows. Unfortunately, there isn’t an exact amount of time to whip a marshmallow for, because every mixer is different in terms of power and speed. Generally, you’ll whip anywhere between 7-15 minutes, but you’ll need to make the final decision as to when it is ready.
3. Sugar Syrup Issues: The Undercooked & Overcooked Dilemma
If your syrup doesn’t hit that 240°F mark, your marshmallows won’t set properly—they'll stay soft, sticky, and won’t hold their shape, no matter how long you whip.
Go too far past 250°F? You'll end up with marshmallows that are too firm and might have a chewy, almost caramel-like bite. Not terrible, but not what we’re going for!
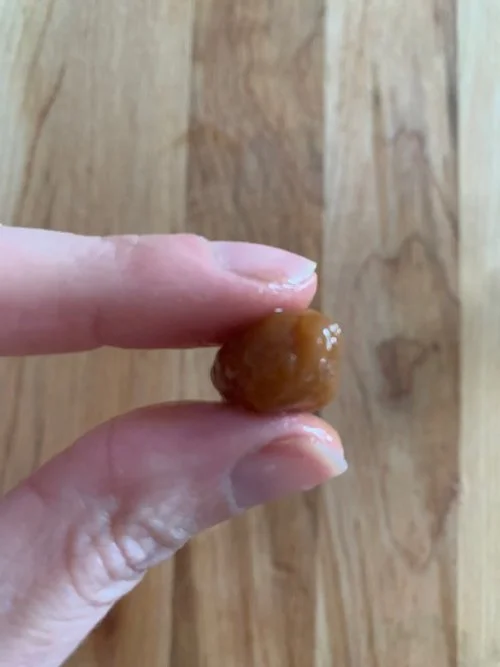
This is what caramel cooked to 240F, the soft ball stage looks like. Notice how the candy can form a ball, but is soft and misshapen. This is what we want for perfect marshmallows!
How to Tell When Your Marshmallows Are Ready
Here’s your marshmallow checklist:
✅ The mixture has tripled in volume.
✅ It’s glossy white and holds soft peaks.
✅ It’s thick but still pourable (slow-moving ribbons, not cement).
✅ The bowl feels just slightly warm to the touch—not hot.
If all of that checks out, you’re set. Pour it into a well-dusted pan (don’t forget the powdered sugar + cornstarch mix!), smooth it out, and let it rest for at least 4-6 hours, or overnight.
Tripled in volume? Check
Glossy? Check.
Soft peaks? Check.
Slow moving ribbons that don’t disappear? Check.
Final Tips for Marshmallow Success
Use a stand mixer.
This is definitely a job for the stand mixer. You can use a hand mixer, but be prepared to whip for at least 15 minutes.Bloom your gelatin properly.
Sprinkle it evenly over cold water and let it soak—don’t dump it in all at once.Invest in a reliable candy thermometer (and double-check it’s calibrated!). The temperature of your syrup is everything. For more info on the different stages of cooking sugar and thermometers, check out my post here.
Let your sugar mixture cool before adding to the gelatin.
Once your sugar mixture has been brought to the correct temperature, pull it off the heat and let it sit for 5 minutes. When pouring the sugar into the gelatin, let the sugar hit the side of the bowl before it mixes with the gelatin which will help it cool off even more. Why do we do this? Gelatin doesn’t like to be too hot, or else it won’t properly do its job. We already have enough to watch out for, under-active gelatin shouldn’t be one of them!Work quickly but calmly.
Once you stop whipping, move fast to spread it in your pan. It sets up faster than you think!Remember:
Under-whipped = gooey, sticky mess.
Over-whipped = dry, stiff blocks.
Perfectly whipped = soft peaks, thick but pourable, glossy goodness.
Once you get a feel for the process, it becomes second nature. And trust me—once you've had a fresh, homemade marshmallow, you'll never want to go back to the bagged stuff again.
Ready to start marshmallow making?
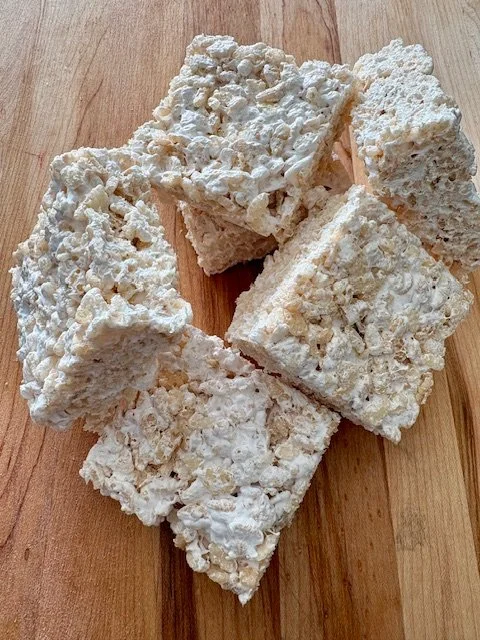
Check out my recipe for Vanilla Marshmallows.
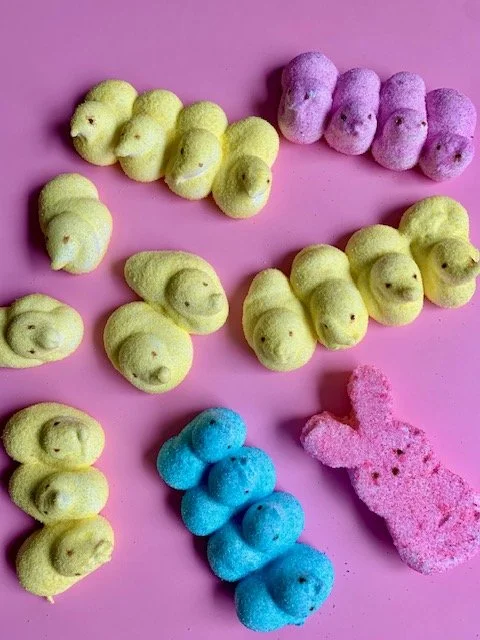
For a fun Easter project, check out my digital download for Homemade Peeps.


Hey, I’m Kim!
After a lot of practice (and a few sticky disasters), I’ve crafted a delicious selection of lollies and mastered a ton of candy making tips to share with you—lump free. (You’re welcome.)